


Congratulations on your purchase of a Vista mobile pivoting whiteboard – quality made in Australia.
These assembly instructions apply to all of our mobile pivoting whiteboards and chalkboards, including our porcelain surface whiteboards, commercial surface boards and music stave white boards.
Tools Required for Assembly (not included in the box)
| 5/8″ ring spanner | 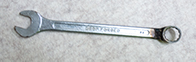 |
| Rubber mallet (optional) | 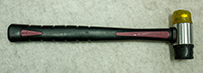 |
Component Kit Inclusions
In order of use.
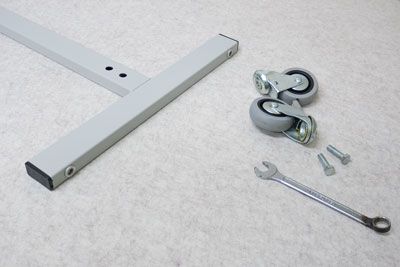
| 1. | 2 of Side Frames (legs) | 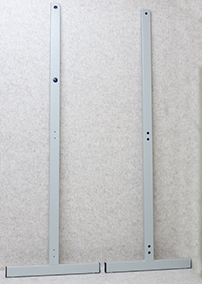 |
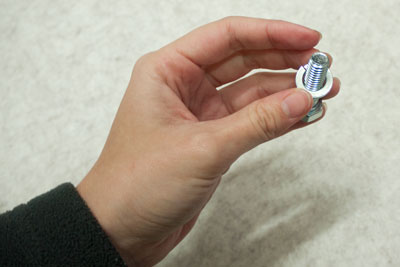
| 2. | 8 of Spring Washer (small) | 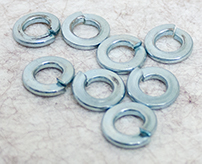 |
| 3. | 8 of M6x30 Cap Screws | 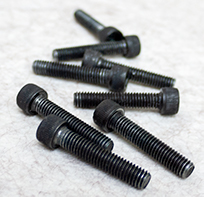 |
| 4. | 2 of Cross Bars with expanding end cap fitted | 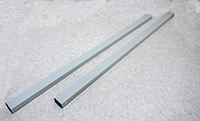 |
| 5. | 1 of Allen Key 5mm | 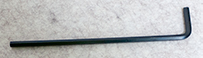 |
| 6. | 8 of Concealing plugs | 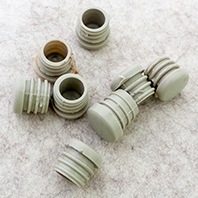 |
| 7. | 4 of Spring Washer (large) – Size 3/8″ | 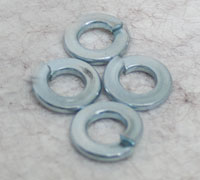 |
| 8. | 4 of 1 1/4 x 3/8″ bolts | 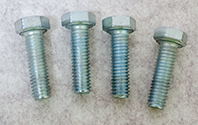 |
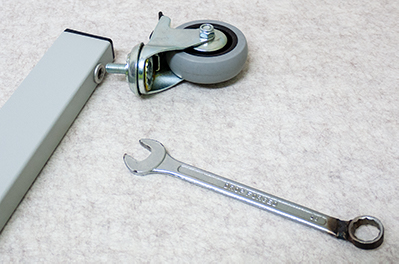
| 9. | 4 of Wheels/Castors ( 2 x Standard & 2 x locking) | 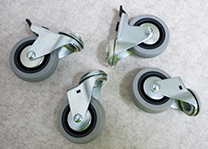 |
| 10. | 1 of board panel |  |
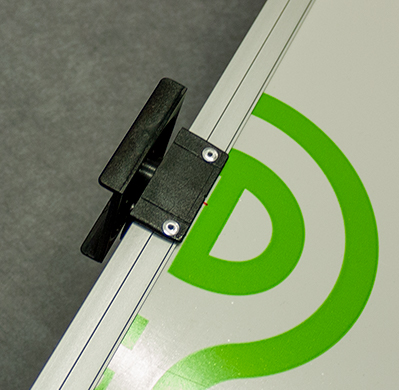
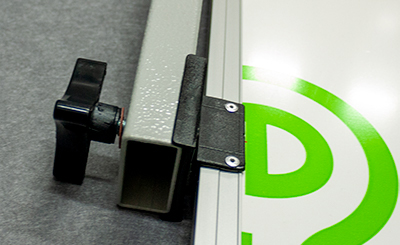
| 11. | 2 of Frame Pivot Brackets | 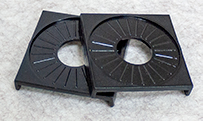 |
| 12. | 2 of Centre Pivot Brackets (Fixed to the board panel) | 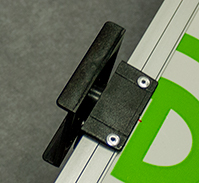 |
| 13. | 2 of Tri-wheels with red washers | 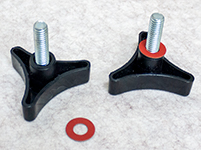 |
| 14. | 2 of End Caps | 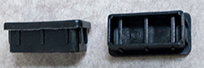 |
| 15. | 1 of Pen Tray |  |
Assembly Instructions
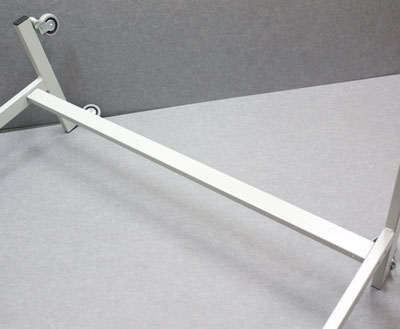
1. Place the side frames (1) onto a flat surface like a work bench or floor. With the large holes on the side frame facing up.
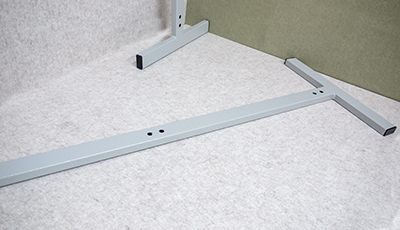
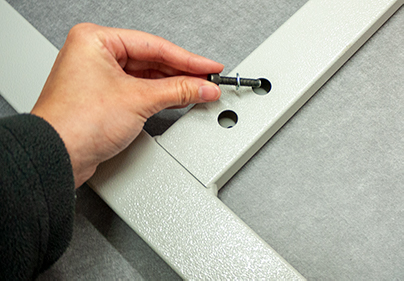
2. Lay the side frame (1) on its side so that the small holes are facing in and the large holes are facing out. Put one spring washer (2) onto one of the M6 x 30 Cap screws (3) then grabbing a cross bar (4) match up the holes at the end of the cross bar with the ones on the inside bottom of the side frame (1) putting the screw in from the large hole side.
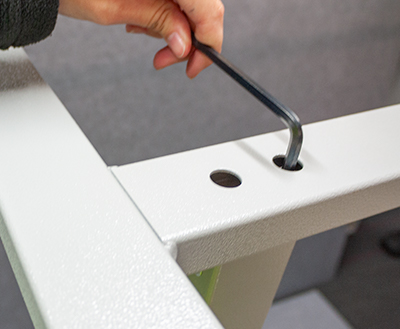
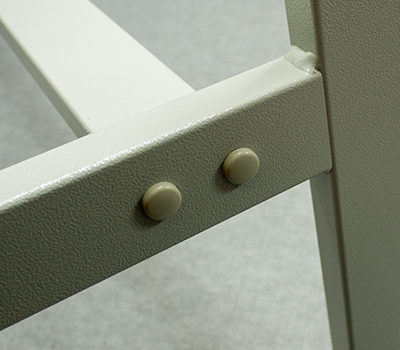
3. Using the Allen key (5) turn the cap screw (3) until tight, repeating this for all the cap screw holes. Once completed repeat this process for the second Cross Bar (4) and then fit concealing plugs (6) into the holes on the side frame (1) to conceal cap screws (3).
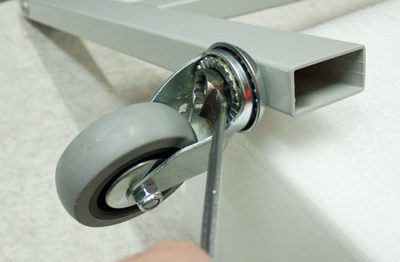
4. Put one spring washer (7) on each individual bolt (8) and using the 5/8 ring spanner, fit the wheel/ castor (9) to the base of the side frame using bolts (8) to screw it in. When fitting the wheels make sure there is one standard and one locking wheel on each leg frame, with the locking wheels on the same side for each leg.
5. Get the board panel (10) and attach the flat side of the frame pivot brackets (11) to the centre pivot brackets (12) that are attached to the board.
6. Once attached, fit the frame pivot brackets (11) to the inside top of the side frame (1) matching up the holes and making sure that the side of the brackets fit around the sides of the frame.

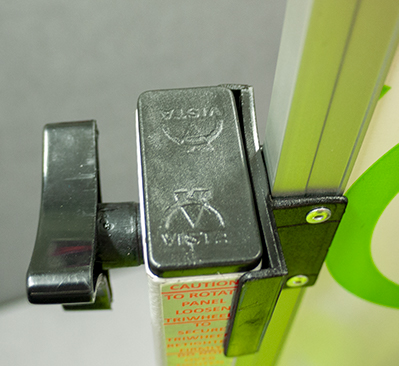
7. Place one red washer on each of the Tri- wheel shafts (13), then insert the Tri-wheel through the hole on the side frame (1) into the frame pivot brackets (11) and twist until holds firmly. Do not over tighten. Repeat this process on the other side.

8. Two people will be required to lift board and stand from ground to standing position. Once standing, place end caps (14) on the top of either side frame (1) banging down gently with a rubber mallet if necessary.
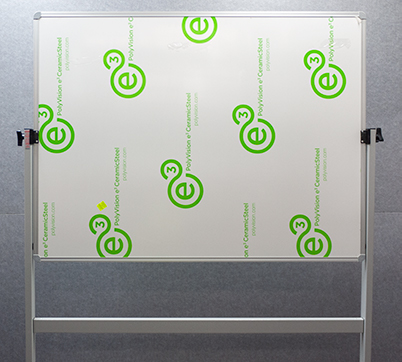
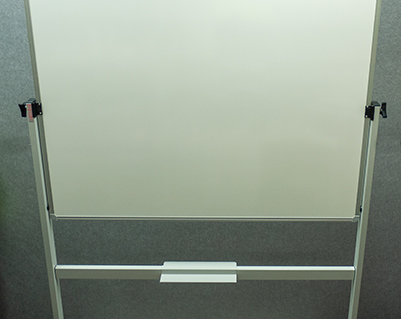
9. Place pen tray (15) over upper cross bar (4) and remove protective plastic from board.
10. Enjoy your new Vista mobile pivoting board!
*** Please retain the Allen Key as re-tightening of the cross bars may be required in the future.